
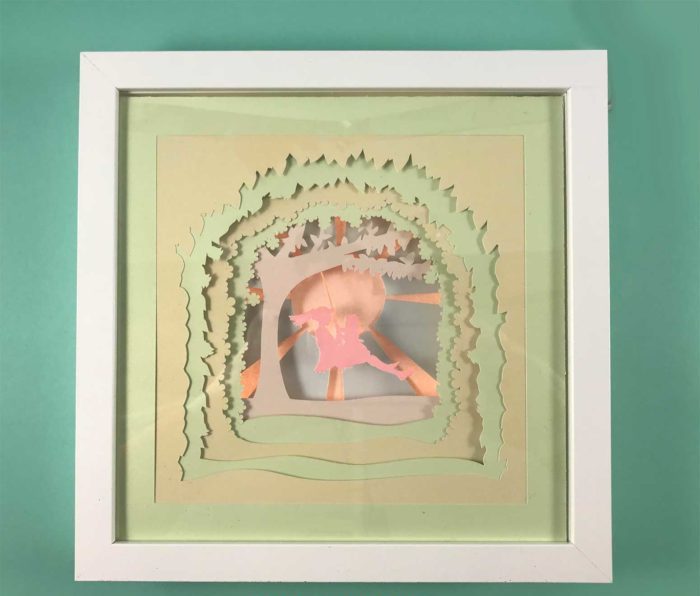
Do you have old memorabilia that needs a new home? Make your own shadow box! This DIY is truly not only hassle-free and a very easy technique, but is also very customizable, and durable for the long term. In this article, we provide you with illustrations on how to make a shadow box and discuss the materials required, how to create the frame, how to clean up glass or Plexiglass for the front cover (if necessary), etc. A list of tools needed is also included. A shadow box finished perfectly can be easily put on a shelf of your house or workplace for decoration purposes. Alternatively, you can conleichte goldkette kayak americano heiskanen hifk jersey nike mercurial red and grey borsa roncato tracolla Italy jalallinen riippumatto huawei p8 lite suojakotelo lasten laskettelusukset ale emma hogan the economist linkedin كيبورد مستر rohan kishibe vans clarks damen 42 eetkamerstoel leen bakker vero moda farkut seven shape up mr مصاريف مدرسة ise الدولية sider using it for placing petty items such as jewelry or other bric-a-bracs- however, simply ensure that whatever you put in there it should not step in Plexiglass.
Shadow Boxes
Table of Contents
Shadow boxes should not be considered for exhibiting awards but they are good memorabilia (as already stated above); said that, they can also be used for preserving great fun memories or gift items you have received on special occasions. With this easy DIY project, you’ll be sure to enjoy your shadow box and use it often. You can customize it by choosing a different color for the backing board, using different types of decorative papers, and placing a portrait inside instead of memorabilia.
14 easy steps on how to make a Shadow Box
Step 1: Find an Old Door
Simply find an old and shabby door measuring 35″ x 60″ in size. If such doors are not present in your house, you need to get them at salvage yards or flea markets where they are saleable at a very affordable price. Alternatively, the best idea is to go online to purchase them. Look on Craigslist and eBay for “old doors.” There are lots of options!

Step 2: Cut Plexiglass
Cutting Plexiglass is a breeze, but it is worth noting that a piece of glass typically has 4 sides. This means cutting plexiglass using a common sharp knife or razor blade is not possible. Therefore, at such a juncture, using a special plexiglass cutting tool is a level-headed idea. Handpicking the right cut tool is not a special point of consideration here, but its importance become crucial when you start working with plexiglass.
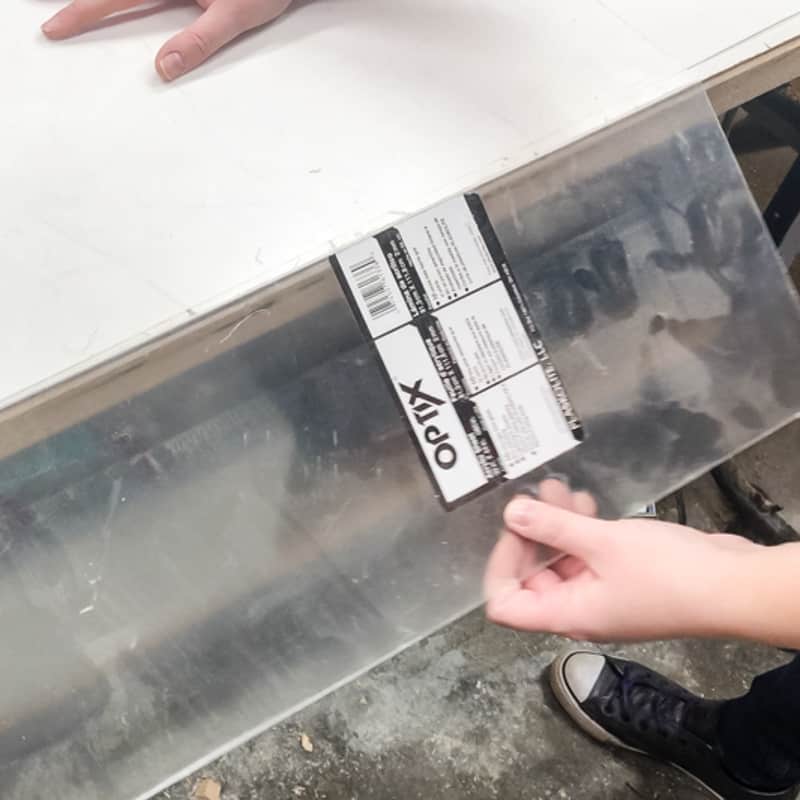
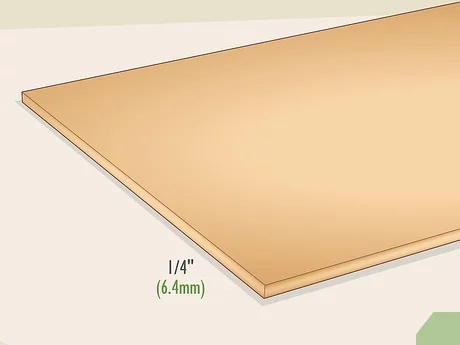
Step 3: Cut Plexiglass to the Correct Size
If you have already taken satisfactory measurements, start cutting. The use of a rule to make cuts is highly recommended otherwise the cuts will be crooked. Also, ensure that the plexiglass fits into the frame seamlessly. The word of recommendation is also to consider using a self-healing mat while cutting! A self-healing mat is tantamount to an old mouse pad but relatively thicker and protects the surface underneath from being damaged by whatever you are cutting on top of it.
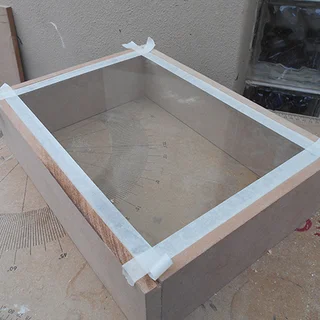
Step 4: Attach Plexiglass to Frame with Glue
First, apply a moderate amount of hot glue to the back of your plexiglass. It is not necessary to cover the plexiglass all the way to the end, but just make sure that it is evenly dispersed.
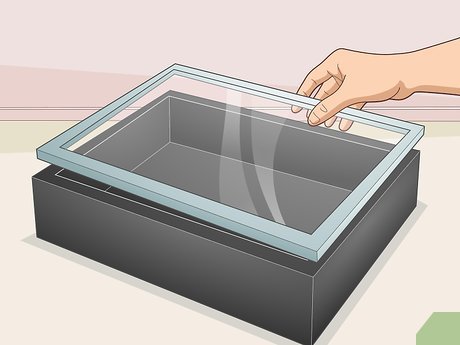
Step 5: Attach the Plexiglass to the Frame
The most favourable way I’ve found of binding plexiglass is by using a clothes’ pin! Once you’ve placed some glue on the frame and started balancing your plexiglass on top of it, simply use a clothes’ pin to attach both pieces.
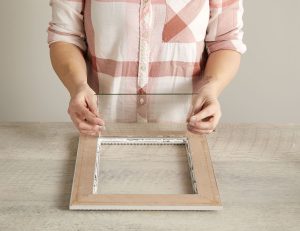
Step 6: Bind Plexiglass to Back Board
Gaining the satisfaction that the plexiglass is well attached to the frame, it is now time for you to attach it to the backboard. Using a heavy-duty Velcro is the sublime idea when it comes to attaching the backboard or your plexiglass will move around while applying. Place the Velcro piece on the undersuface of your plexiglass by using a certain amount of hot glue. This is a great way to ensure that you cannot detach your plexiglass from the frame even mistakenly.
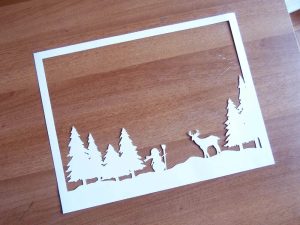
Step 7: Create Cut-Outs for the Pictures
Next, it is time to create cut-outs for your pictures. If peepholes are already there on your door house, it is a wise idea to use them for making markings where the cut-outs are. On the other hand, if your door lacks peepholes, no other helpful option is out there instead of making a few independently.
Step 8: Cut Out Plexiglass & Attach Images
Once you’re satisfied with your cut-outs, grab some old magazines and cut out pictures of objects that are similar in size to what you want framed in the box (e.g., see picture below). This is a great way to ensure that everything will look proportional when it’s done.
Step 9: Attach Plexiglass
If you’re using a button that holds the backing board in place, then you can just glue your plexiglass to the plexi-back and let it dry. If you’re using velcro (as I did) then you’ll want to attach the backing board first, then stick the velcro on top of everything and let it dry.
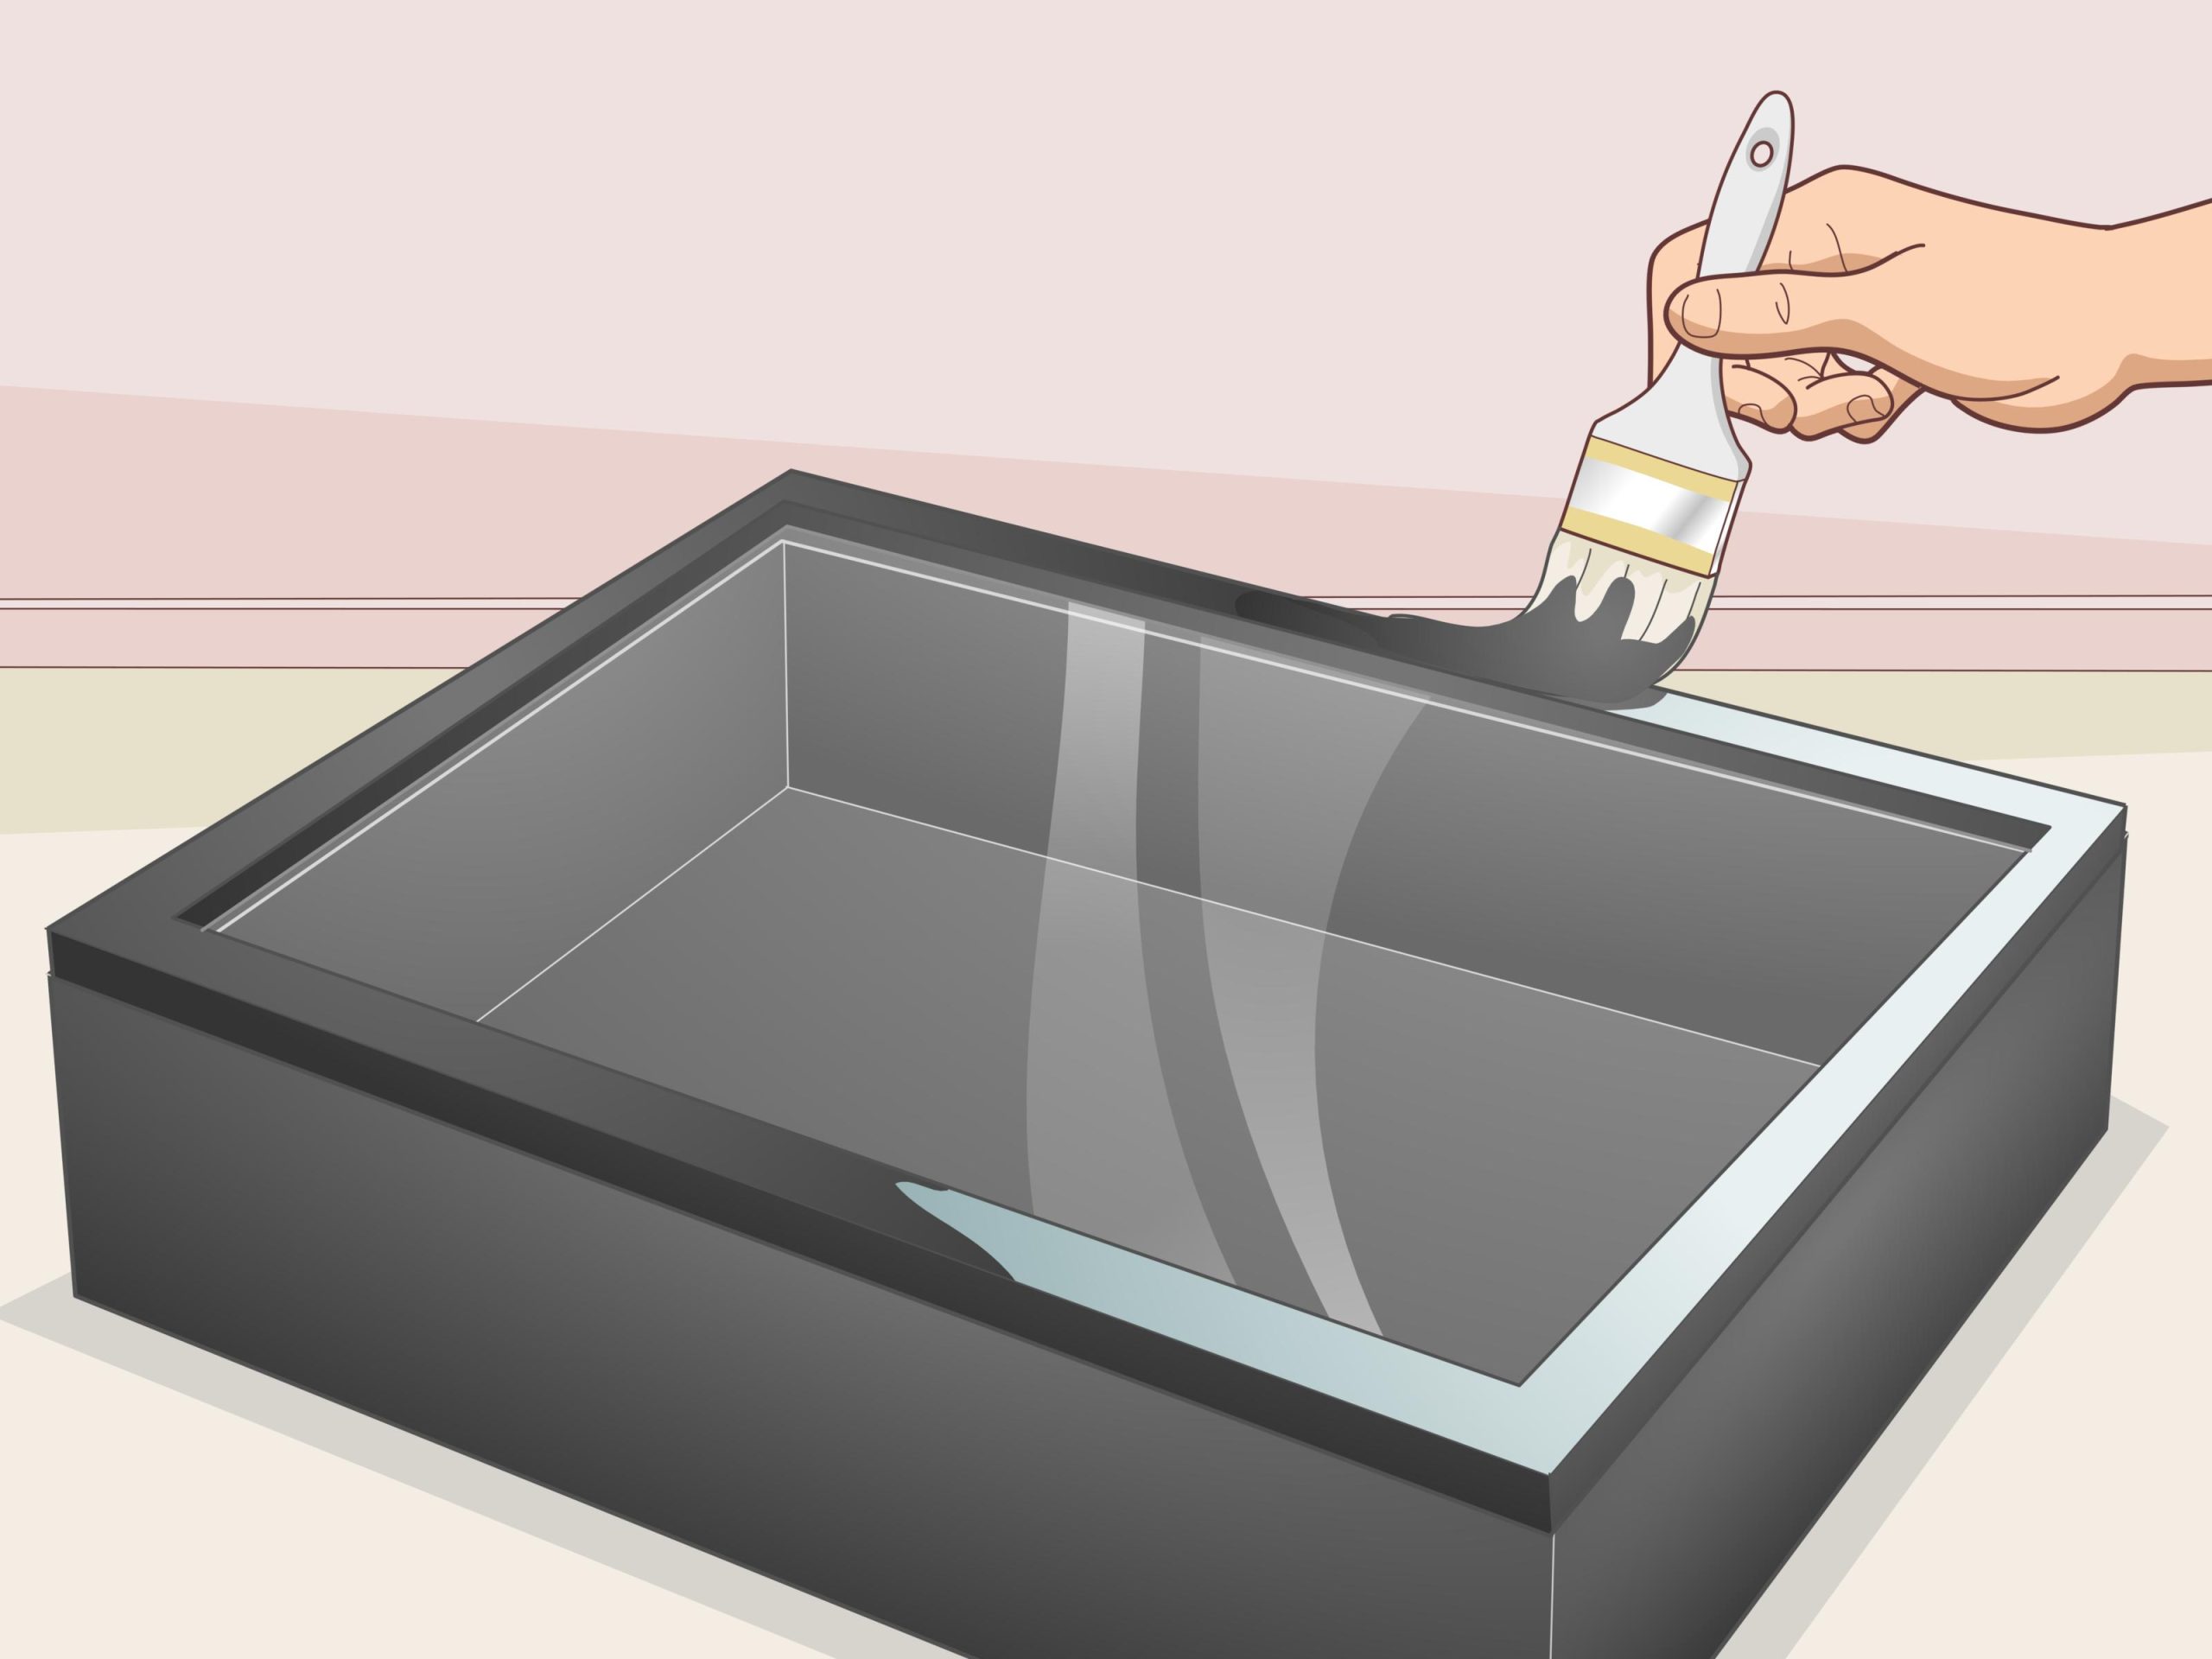
Step 10: Apply Glue to the Bottom & Side Panels
Once the velcro has dried, grab some glue and work it into both sides of your plexi-back with a small paintbrush. This will ensure that nothing moves or slips while applying the rest of your gluing process.
Step 11: Glue the Bottom Panel to the Backboard
Glue the bottom panel to the plexi-backboard with a generous amount of glue. Never be stingy with your glue! It’s important that everything is secure and tight while you’re applying it.
Step 12: Attach the Top Panel & Side Panels
Glue the top panel and both side panels together using a generous amount of glue. Never be stingy with your glue again! It’s important that everything is secure and tight while you’re applying it.
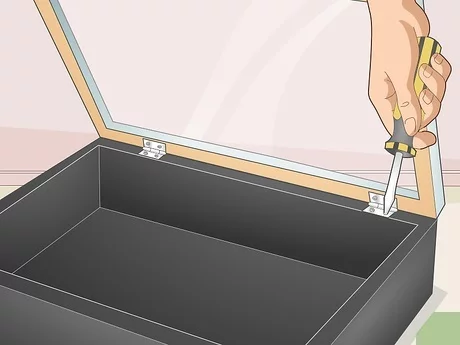
Step 13: Attach Plexiglass to Top Panel
Next, apply hot glue around all edges of your plexiglass as shown below. Then, using a clothes’ pin, attach the plexiglass to the top panel.
Step 14: Attach Images to Backing Board
Finally, place your images in the cut-outs and then use some glue to attach the image onto the backing board behind the plexiglass. This is one of my favorite parts, as it’s so rewarding once you see everything come together!
Conclusion
This is a simple and fun project to make. The efforts made on how to make a shadow box is relatively low and it doesn’t require much time, but you’ll get some great memories out of it! You can also customize your shadow box by using different types of decorative papers, arranging different types of memorabilia in a certain order, etc.


")


